When you’re prompting you’re essentially just rizzing up some GPUs, and Midjourney has a dozen or so parameters you can tweak that change the way it interprets your rizz, letting you explore & tune the aesthetic direction of your generations
👉 One of those parameters is the –stylize parameter, or –s for short.

Using –stylize in your prompts
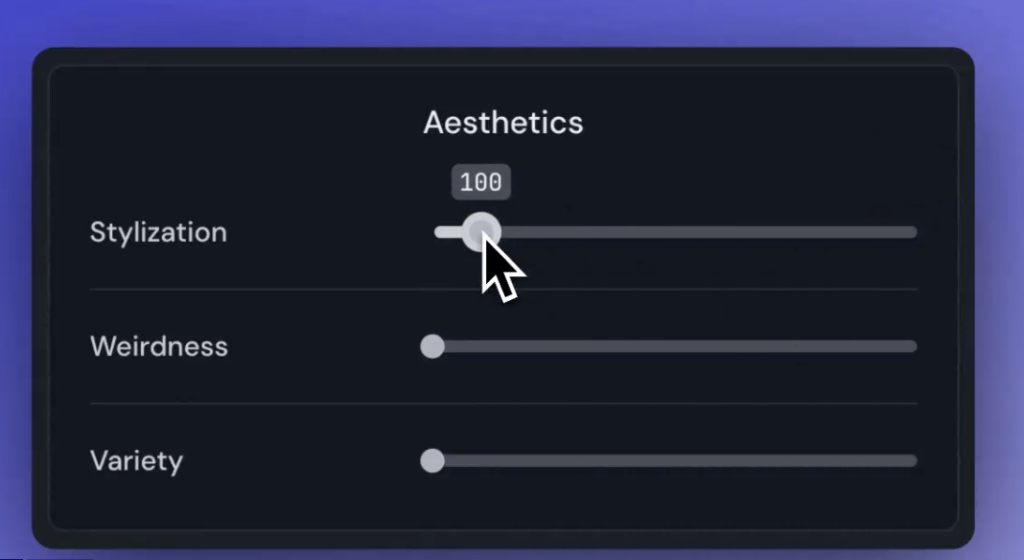
Stylize accepts values from –stylize 0 up to –stylize 1000. You can use any number in this range.
These values will do different things for different prompts (see examples below 👇), but at a high level, the –stylize parameter determines how much of MJ’s training, which tends to favor more bold and artistic imagery, is applied to your generations.
- Low –stylize values like –stylize 0 or –stylize 50 tell MJ to listen more explicitly to your prompt and be less creative with it’s interpretation
- Medium –stylize values like –stylize 100 or –stylize 250 balance your prompt request with MJ’s creativity
- High –stylize values like –stylize 500 or –stylize 750 give MJ more creative license, but may generate images less connected to your prompt

Visual examples of –stylize
I ran a few different prompts against a range of values to help you better visualize what we’re talking about here. Some photographic prompts, some artsy prompts, some simple prompts, and some very detailed prompts.
#1 – Colored Pencil Sketch
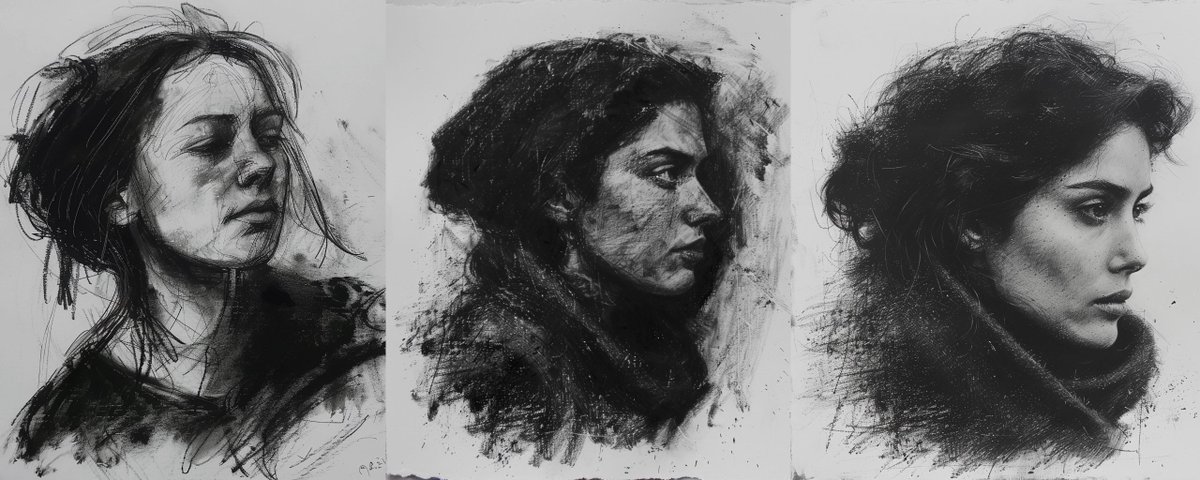
The prompt here was “colored pencil sketch of a woman“. Notice how the line work, coloring, shading and overall detail changes as we increase the –stylize value. At lower values MJ is listening more closely to our prompt and generating looser and more “sketch” like results, while at higher values MJ is getting more creative and bold with the details, but pull us further from the “sketch” aesthetic we requested.

#2 – Watercolor Painting
The prompt here was “watercolor painting of a duck in a pond“. Similar to the sketch prompt, we see more detail and bold use of color across our subject and scene as the –stylize value increases.

#3 – Closeup Photo
I tend to prefer lower values of –stylize for simple photographic prompts. I find it often gives a more realistic feel to the generations. The prompt here was “analog color photo, closeup of a man in a cafe“. Notice how the higher values pull the camera out, not giving us the “closeup” like we requested. However, the more detailed your prompts get, the more –stylize you may be able to get away with (see next example).

#4 – Very Detailed Prompts
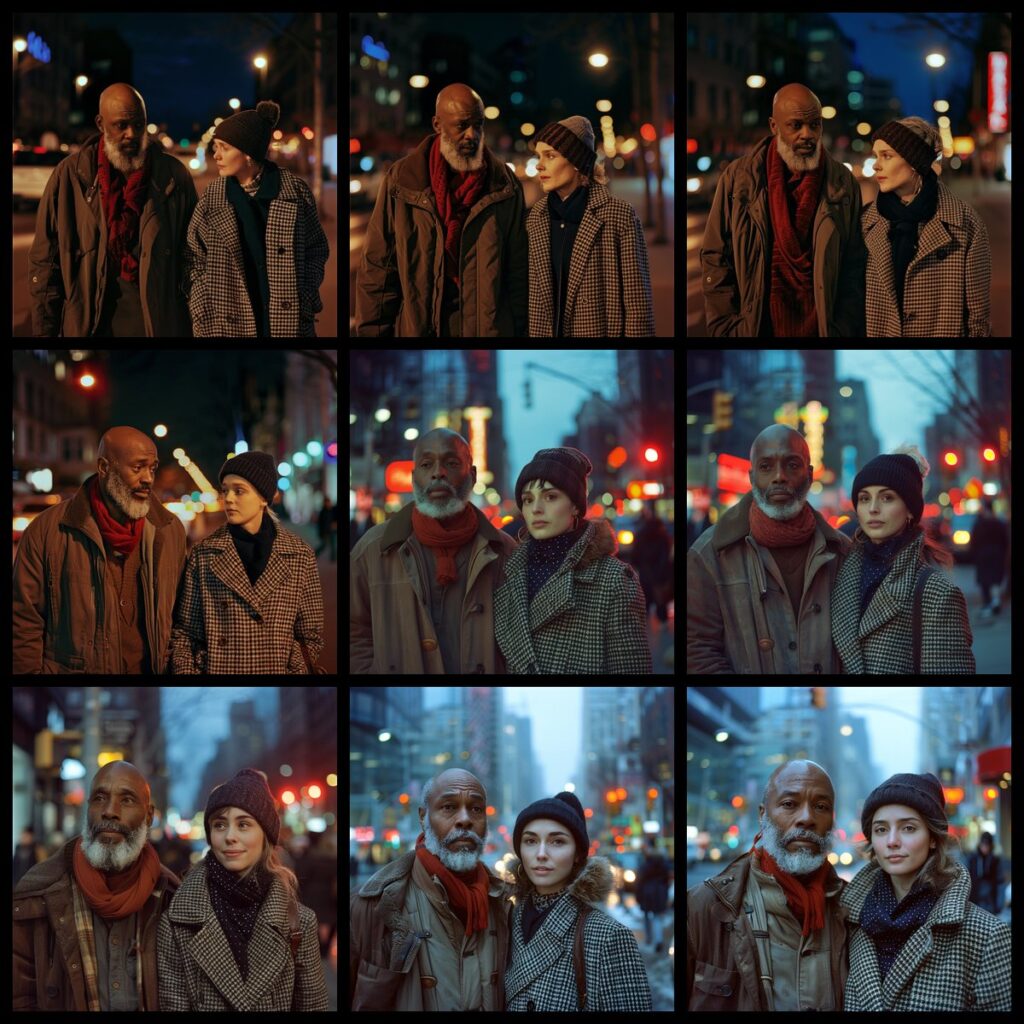
As your prompts get more detailed, Midjourney doesn’t have the same wiggle room to “read between the lines” as it does with simpler prompts that leave much left unsaid. This means you might be able to get away with higher –s values without drifting too far from your prompt (prompt in caption below).

Midjourney is a big tool that’s constantly updating with new features and unique ways of using it. If you or your team is interested in going deeper, consider checking out author’s course and community.
Author: @nickfloats
Read related articles in our Blog:

